You can schedule the automatic removal of a file by assigning it an Expiration Date using the file menu option "Expire" as pictured below: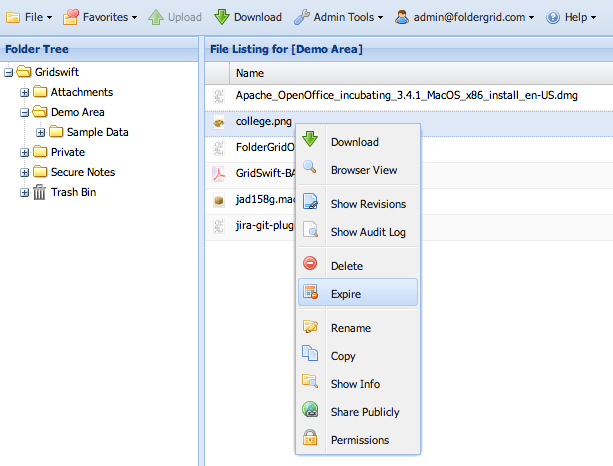
This menu option will open the Expiration Assignment window where you can view the current expiration date (if any) and remove it or set a new expiration date.
As noted in the window, be aware that expiration bypasses your domain's data retention settings and on the assigned expiration date results in a complete & irreversible purging of the entire file including the content and metadata.
For that reason, only the file creator or a domain administrator may assign an expiration to a file.
The Web App supports the assignment of an expiration date to multiple files at once. To assign the same expiration date to multiple files (for instance all the files in a folder) simply select the targeted files before choosing "Expire" from the file menu.
Automatic File Removal using Expiration Date Print
Modified on: Tue, 24 Mar, 2015 at 3:48 PM
Did you find it helpful? Yes No
Send feedbackSorry we couldn't be helpful. Help us improve this article with your feedback.